OIDC Integration Guide
Step1: Retrieve Your Account Slug
- Where to find it: Go to your Peerpanda dashboard and navigate to Account Settings.
- Copy the account_slug, which will be used in the configuration URLs below.
Step 2: Configure Your Identity Provider (IdP)
In your IdP (e.g., Azure AD, Okta, Google Workspace, Auth0), set up a new OIDC application with the following settings:
- Client Authentication: Client secret
- Grant Type: Client Credentials
- Core Grants: Authorization Code
- PKCE (Proof Key for Code Exchange): ✅
- Scopes: openid, email, profile
Ensure your ID token contains the required claims :
- given_name
- family_name
Note : Azure AD often does not return the email claim by default, even when the email scope is requested. This is a known non-standard behavior. To fix it, add the email claim in the ID Token configuration.
OIDC Endpoints
Replace {account_slug} with your actual value.
Redirect Uri
Initiate Login URI:
Post-logout Redirect URI:
Sample OKTA Configuration

OIDC PeerPanda Okta Configuration
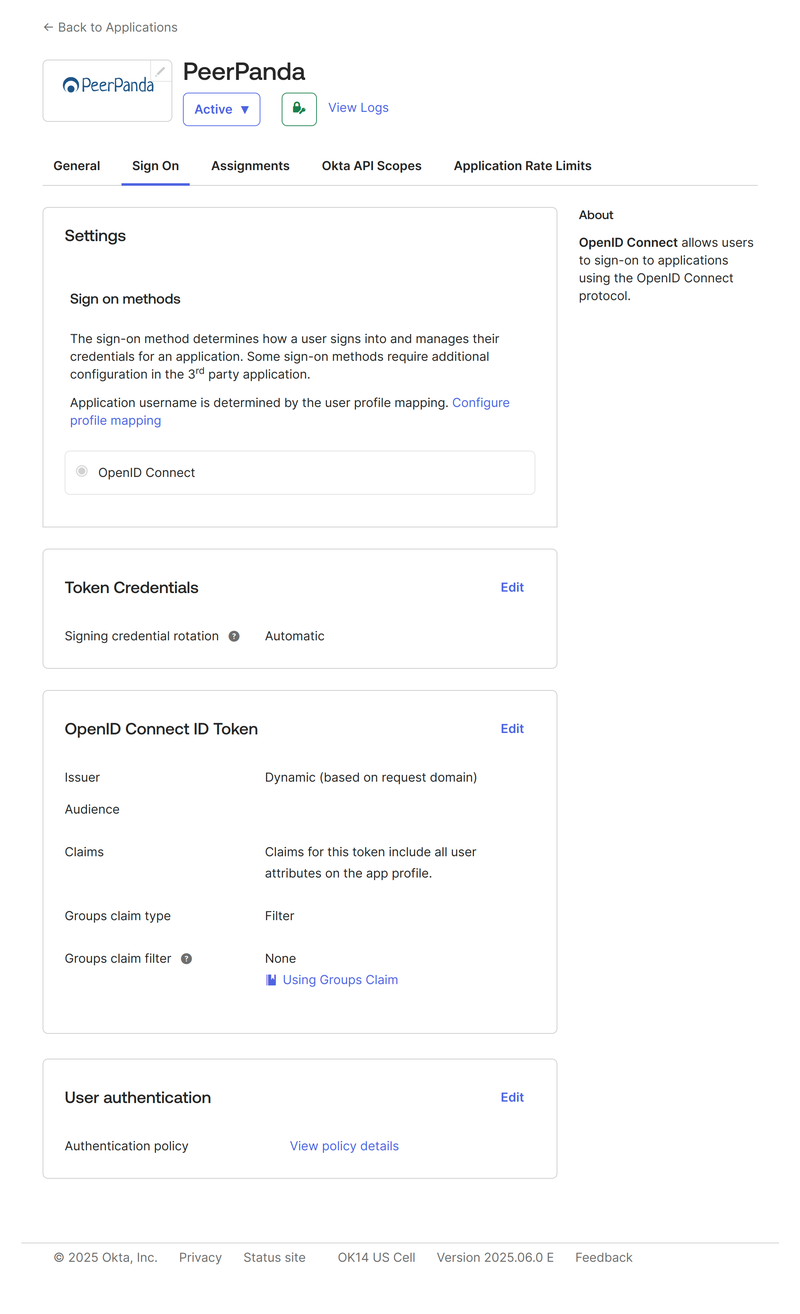
OIDC PeerPanda Okta Configuration
Preparation Checklist
Before contacting us, make sure you have:
- Your account_slug
- A configured OIDC client (with Redirect URI, scopes, etc.)
- The following ready to share:
- Client ID
- Client Secret
- OIDC Discovery URL (or manual endpoints)
- Token Endpoint Authentication Method: client_secret_basic or client_secret_post
Contact Peerpanda Support
Once everything is configured, contact us directly through the in-app chat in your Peerpanda dashboard.
We'll complete the setup on our side and let you know when it's ready to test.